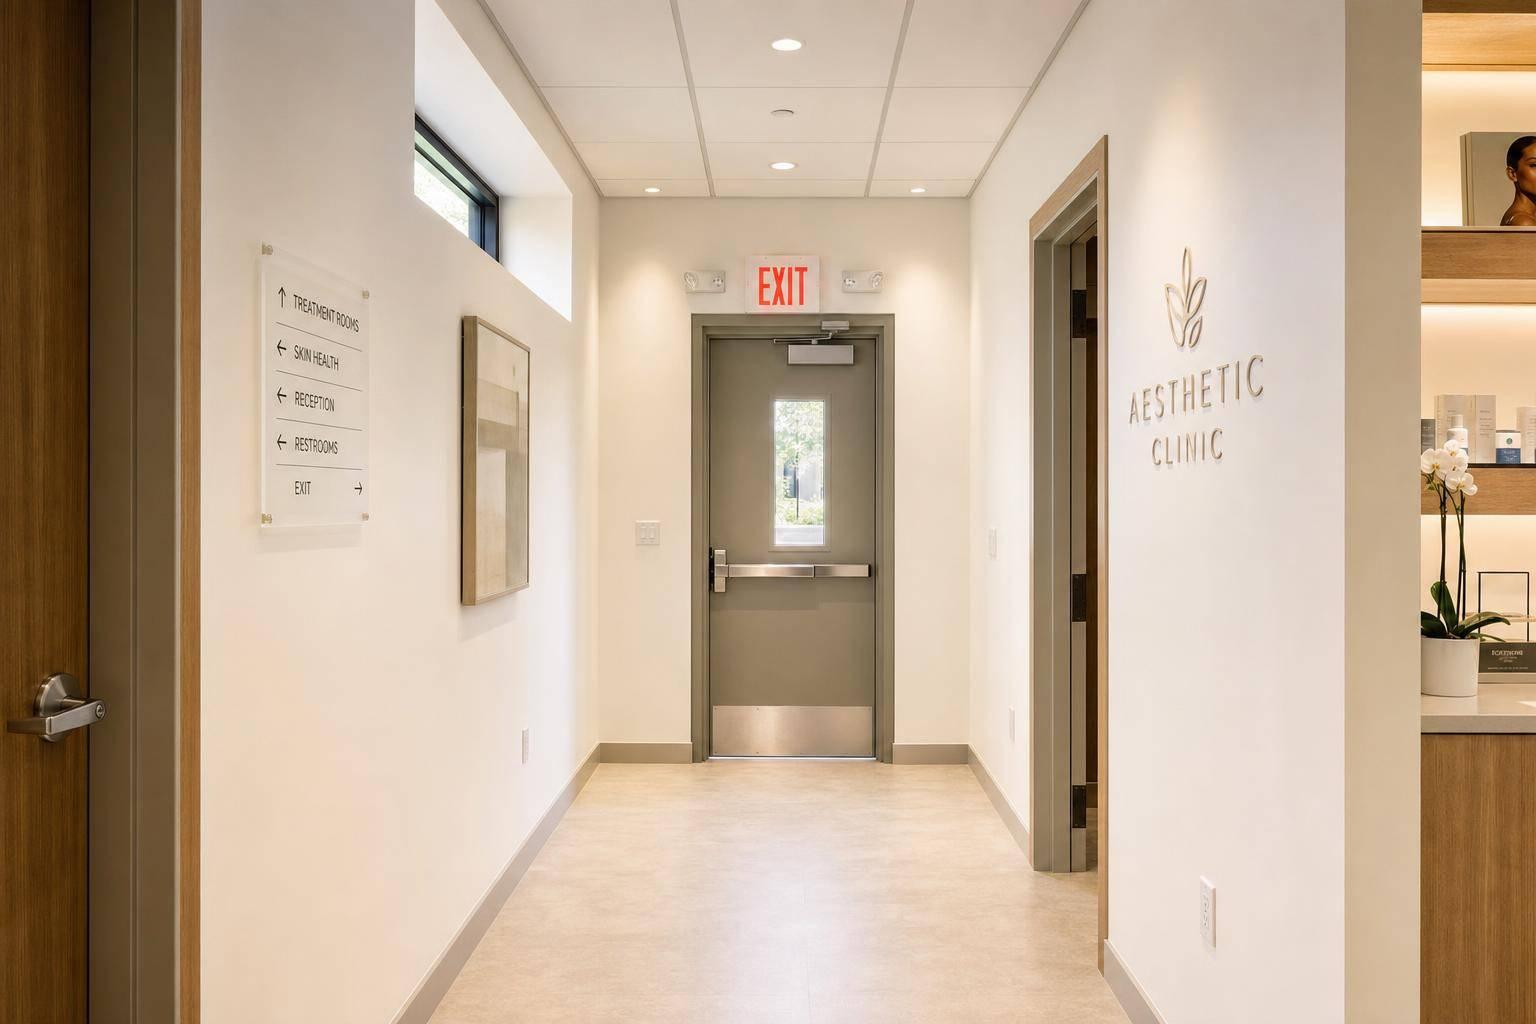

If your clinic has blocked hallways, one usable exit, dim egress lighting, or locked staff doors, you may have an OSHA problem.
I’d boil the article down like this: OSHA exit-route rules affect your floor plan, your doors, your lighting, your signs, and your daily storage habits. For many clinics, the main trouble spots are treatment rooms, reception areas, retail displays, and back-of-house corridors. Even a layout that passed at buildout can fail later if boxes, carts, chairs, or locked doors cut into the path out.
Here’s the short version of what you need to know:
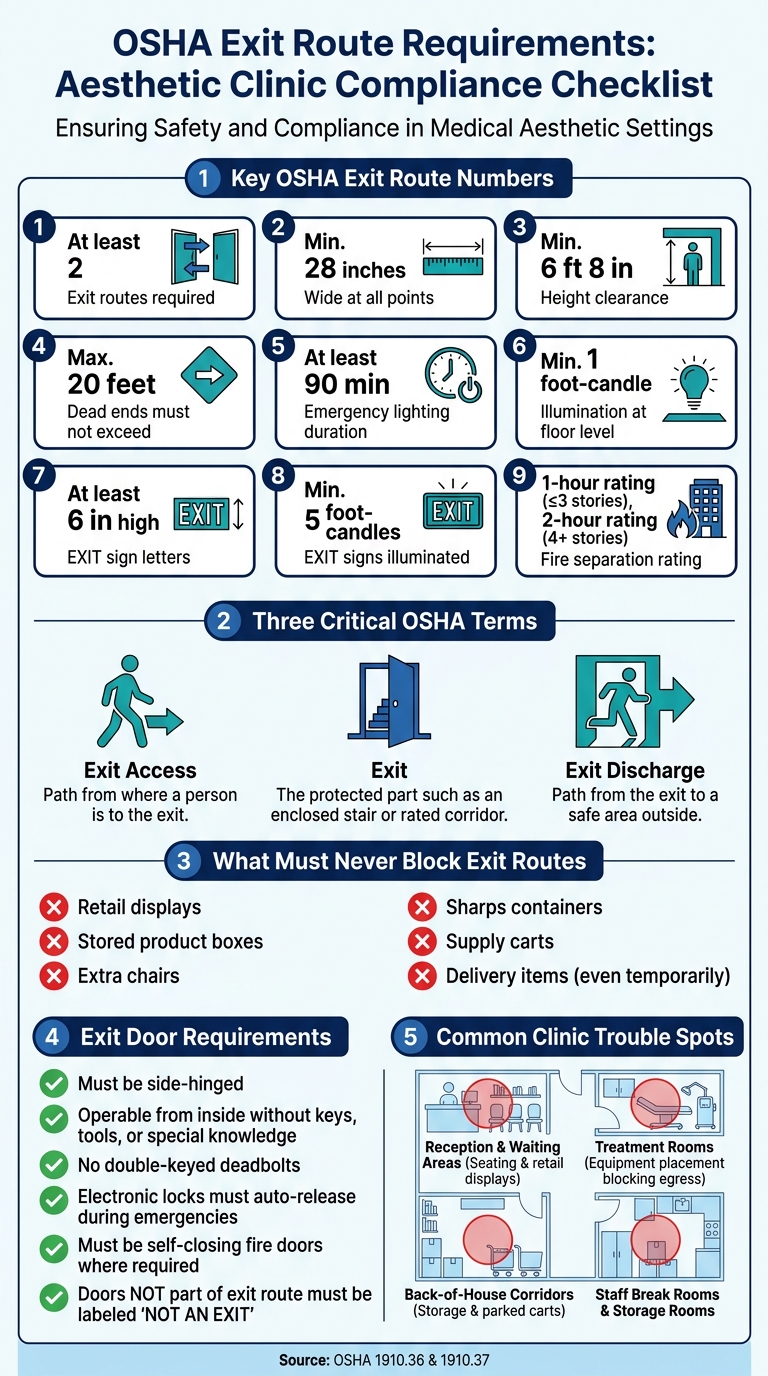
- Most workplaces need at least two exit routes
- Exit access must stay at least 28 inches wide
- Exit-route height must be at least 6 feet 8 inches
- Dead ends should not exceed 20 feet
- Exit doors must open from inside without keys, tools, or special knowledge
- Routes must stay lit when the building is occupied
- Emergency lighting should last at least 90 minutes after power loss
- EXIT signs must be clear, lit, and easy to see
- Boxes, retail displays, carts, and spare chairs cannot block egress
I’d also keep three OSHA terms straight:
- Exit access: the path from where a person is to the exit
- Exit: the protected part, such as an enclosed stair or rated corridor
- Exit discharge: the path from the exit to a safe area outside
The main takeaway is simple: good design alone is not enough. You need the right layout before opening, then regular checks and staff training after opening, so the route out stays clear every day.
OSHA Exit Route Requirements for Aesthetic Clinics
The OSHA Exit Route Rules That Shape Clinic Layouts
OSHA sets hard limits on exit-route count, width, height, doors, lighting, and signs. In plain terms, these are fixed numbers your layout has to meet. Once those basics are on the table, the next step is making sure the full clinic plan works around them.
Number, Placement, and Capacity of Exit Routes
Those routes must be placed as far apart as practical. The reason is simple: if fire or smoke blocks one exit, people should still be able to reach the other.
Exit capacity also has to match your actual occupant load. That means counting patients and visitors and staff at peak occupancy. And the route can't get tighter as people move toward the exit. A broad treatment hallway can't squeeze into a narrow vestibule right before the exit door.
Before you sign off on plans, ask your architect for occupant load calculations and an egress diagram. It should show two separate exit paths from every zone, including reception, each treatment area, and staff spaces.
Width, Height, Door Operation, and Fire Protection Requirements
OSHA requires exit routes to be at least 28 inches wide at all points, and each route must be at least 6 feet 8 inches high. In practice, it's smart to make corridors wider than the bare minimum anywhere wheelchairs, carts, or heavy foot traffic could cause bottlenecks. Dead ends should be limited to 20 feet, which matters a lot in spa-style layouts with winding hallways and clusters of treatment rooms.
Exit doors must be side-hinged and operable from the inside without keys, tools, or special knowledge. So, double-keyed deadbolts are out. Any electronic lock that doesn't release on its own during an emergency is out too. If an exit door opens into a rated stair or enclosed corridor, it must be a self-closing fire door listed by a recognized testing lab. For exits serving three stories or fewer, the separation from the rest of the clinic usually needs at least a 1-hour fire-resistance rating. For four or more stories, it needs at least 2-hour fire-resistance. This comes up fast when treatment rooms or storage rooms sit next to an exit stair. Unprotected openings or penetrations in those rated walls can turn into violations.
Lighting, EXIT Signs, and Keeping Routes Clear
Exit routes must be lit whenever the building is occupied, not just during emergencies. Technical guidance aligned with OSHA standards calls for at least 1 foot-candle of illumination at floor level along the exit path. Emergency lighting with battery backup must keep routes lit for at least 90 minutes after a power failure. That's a direct clash with the dim, calm feel many aesthetic clinics want. The usual fix is pretty simple: keep main egress corridors lit to the required level at all times, and use dimmable lighting only in treatment rooms and other non-egress areas.
EXIT signs must display the word "EXIT" in letters at least 6 inches high, with a stroke width of at least 3/4 inch, and they must be illuminated to a minimum of 5 foot-candles. Directional signs are required anywhere the path to an exit isn't obvious. And any door that isn't an exit but could be mistaken for one, like a storage room or staff-only door, must be clearly labeled "NOT AN EXIT."
Beyond signs, the route itself has to stay completely clear at all times. That means:
- No retail displays
- No stored product boxes
- No extra chairs
- No sharps containers in the corridor, even for a short time
These rules tend to get toughest in treatment rooms, reception areas, storage, and staff spaces.
sbb-itb-02f5876
Common Clinic Buildout Problems by Space and How to Fix Them
These rules tend to run into the same layout issues again and again in clinics. The trouble spots are pretty predictable. A good place to start is the treatment room, where equipment placement often shrinks the path out.
Treatment Rooms and Procedure Areas
A common mistake is simple: the treatment table, laser unit, or procedure chair gets placed wherever it happens to fit. That can leave a cramped route to the door. Equipment should be placed so the path out stays clear. And treatment wings shouldn't rely on a single corridor.
The fix starts during design, not after the build is done. Review scaled furniture layouts, not just shell drawings, before construction starts. That makes it easier to confirm clear door swings and make sure each treatment area connects straight to a corridor with two exit routes. Wall-mounted storage and equipment booms can help keep the floor open. Exit access should never send staff through another treatment room, a storage closet, or any lockable space.
After that, look at the front of house. That's where seating and displays often squeeze the same exit path.
Reception, Waiting, and Retail Display Areas
Front-of-house spaces have to do a lot in a tight area. You've got check-in counters, chairs, retail shelving, and sometimes a patient line during busy hours. When seating or product displays narrow the exit path, exit access can drop below minimum requirements or block exit doors altogether.
Plan doors and corridors for peak occupancy, not average traffic. And any door that isn't part of the exit route, such as a closet or staff-only room, should have a NOT AN EXIT sign so no one mistakes it for the way out during an emergency.
Then turn to staff areas, where storage and parked carts usually create the last big bottlenecks.
Break Rooms, Storage Rooms, and Back-of-House Staff Spaces
Back-of-house egress issues are often caused by day-to-day use, not the original layout. A corridor may start out clear, then slowly fill up with overflow storage: boxes stacked along a wall, a supply cart left near the exit door, or a break room refrigerator door that swings into the only staff corridor. OSHA requires exit routes to remain free of obstructions during normal operations and during construction or alterations. There is no temporary exception.
The practical fix is to provide enough enclosed storage and keep carts, boxes, and deliveries out of egress paths. Routine walkthroughs help catch problems early, before they turn into a citation.
How to Design and Operate for Ongoing Compliance
Exit Route Decisions to Make Before Construction Starts
The treatment-room, reception, and storage bottlenecks that lead to violations later are usually visible before construction begins. That’s why it makes sense to solve egress issues before you sign a lease. Make sure the shell can support your planned layout and occupant load. Ask the landlord for life safety drawings, and verify where the current exits, stairs, fire-rated enclosures, and exit discharge paths are located before you commit to the space.
After you secure a space, ask for measured floor plans, not just rough sketches. Those plans should show corridor widths, ceiling heights, door swings, and exit discharge locations. The plans also need to show that the layout still meets OSHA clearance rules after built-ins, soffits, and equipment are installed. Check that protected exits include fire-rated enclosures and self-closing fire doors.
Emergency lighting and EXIT signs should be part of the electrical plan from day one. If the path out isn’t obvious, add directional EXIT signs. It also helps to coordinate early with your architect, contractor, and local building and fire officials. Finding a corridor-width problem or a fire-separation issue during design is far less painful than dealing with redesigns and permit delays later. Of course, even the best plan can fall apart if staff start using those paths for storage after opening.
Inspections, Staff Training, and Emergency Preparedness After Opening
Once the space is built, day-to-day operations have to keep those paths open. A compliant buildout can slip out of compliance if no one pays attention to daily use. Run recurring walkthroughs on a schedule that fits clinic volume. During each walkthrough, check for clear corridors, working exit doors, lit EXIT signs, and functioning emergency lighting. Once the floor plan is locked in, the next big risk is how staff use the space.
Staff training matters just as much as the buildout itself. Every employee should know where all exits are located, both primary and secondary, from every part of the clinic, including treatment rooms, break rooms, and back-of-house areas. Training should cover:
- Why exit routes can’t be used for storage
- What to do if a door or light stops working
- How to help patients with limited mobility during an evacuation
A written emergency action plan should also lay out evacuation procedures and alarm systems. Refresher training at least once a year, and any time the layout or staff roles change, helps keep those habits in place.
Documenting inspections and training sessions creates an audit trail that supports OSHA compliance and shows due diligence during regulatory reviews. Use Prospyr to assign inspections and track follow-up; it does not replace licensed code review or life-safety design.
Conclusion: Build Exit Route Compliance Into Every Clinic Plan
Once you look at the layout rules and the trouble spots that show up again and again, the main point is pretty plain: OSHA 1910.36 and 1910.37 directly shape clinic layout. These exit route rules affect every part of a clinic, from treatment rooms and reception to storage and staff spaces.
Most inspection failures don’t start with one big mistake. They usually come from weak choices early in the design process or sloppy day-to-day habits.
That’s why it helps to treat egress as a design requirement, not some last-minute box to check. Plan routes before construction starts, verify hardware and signs before opening, and keep those routes clear once the clinic is up and running.
A clinic can look polished and still be safe. When exit routes are built into the design from day one, that standard shows up everywhere: in the floor plan, in what gets purchased, and in the routines staff follow every day.
FAQs
Do small clinics still need two exits?
Yes - small clinics still need proper exit routes. And in some cases, that means two exits, depending on what the building code or OSHA rules require for the space.
OSHA also expects each exit route to be:
- Clearly marked
- Free of clutter or blockage
- Easy to open from the inside without a key or special tool
- Equipped with working emergency lighting
- Marked with illuminated exit signs
This isn’t just a box to check. In an emergency, people need a clear path out fast, without fumbling with locks or trying to guess where to go.
Can a hallway fail OSHA after opening?
Yes. An OSHA exit route can fail after it opens if it stops meeting OSHA rules.
It has to stay clearly marked, free of obstructions, and easy to open from the inside without keys or special tools. Hallways and corridors also can't turn into dead ends or get blocked by materials, equipment, locked doors, broken exit signs, or failed emergency lighting.
Who should check our egress plan?
Your clinic’s egress plan should be reviewed by a designated compliance officer or a committee that handles risk reviews, safety records, and protocol updates. That matters because a plan on paper isn’t enough. Someone needs to own it, check it, and keep it current.
The medical director should also take part in the review. They can help make sure the plan works in day-to-day clinic conditions, not just in theory.
Outside compliance experts can offer an independent review, which is often useful for spotting gaps internal teams may miss. Local building departments also review plans and inspect the site for compliance.