
Your photos can help win trust fast - or hurt it just as fast. With 50% of patients checking a med spa’s social media before booking, I’d treat every image like part of the patient experience.
Here’s the short version: if I want med spa social posts to look professional, fair, and safe, I need to keep six photo rules in place every time:
- Use consistent lighting so skin tone and results look accurate
- Match framing and angles so before-and-after photos are easy to compare
- Keep backgrounds clean so nothing distracts from the result
- Set staff appearance rules so the team looks polished and aligned
- Prep treatment rooms so the space looks neat and no patient details show
- Get written patient consent before any identifiable image is posted
This matters for more than looks. Research in the article shows 84% of consumers trust brands more when real patient stories or results are shared, and 98% say real images and videos matter for brand trust. But that only works when photos look honest, consistent, and properly approved.
| Rule | What I check | Why it matters |
|---|---|---|
| Lighting | Neutral light, even shadows | More accurate skin tone and results |
| Framing | Same angle, crop, and distance | Cleaner before-and-after comparison |
| Background | Plain wall, no clutter, no screens | Better focus and less privacy risk |
| Staff | Branded attire, neat grooming | Stronger first impression |
| Room setup | Tidy space, hidden cords and paperwork | Cleaner look and fewer mistakes |
| Consent | Written approval on file | HIPAA safety and posting control |
If I put these rules into one simple team checklist, social posts stop feeling random and start looking like they came from one well-run practice.

6 Med Spa Photo Rules for Professional Social Posts
Why Visual Consistency Builds Patient Trust
Consistent visuals make your feed feel planned, not random. When lighting, angles, backgrounds, and staff presentation stay steady from post to post, your page looks like one polished brand instead of a grab bag of snapshots.
Patients tend to trust brands faster when the same visual standards show up in every post. That trust comes from repeatable details, not one great photo.
Clean, repeatable images suggest care and attention to detail. They also make your practice look more dependable. And visual quality shapes how patients judge clinical quality.
Realistic imagery matters just as much as polished imagery. If before-and-after photos use the same lighting, angle, distance, and background, patients can compare results more easily. It takes out the guesswork. Showing a range of outcomes across different skin types and concerns also helps patients see that the results are attainable, not cherry-picked.
The first standard to lock in is lighting because it affects every image that follows.
Treat visual consistency as a brand standard, both online and in person. It only works when your team follows the same rules every single time.
1. Lighting Standards
Lighting is the fastest way to make your feed look consistent and keep skin tones accurate. Start with color temperature. Then fix light direction and control the room around it.
Color temperature matters. For clinical and treatment photos, aim for a neutral daylight range of about 5,000–5,600K. Warmer light can add yellow or orange casts. Cooler light can add blue casts. Either one makes results harder to compare.
Light direction matters too. Front-facing, diffused light usually works best. A ring light or softbox at face level helps avoid harsh shadows under the eyes, nose, and chin. That also makes before-and-after photos easier to read at a glance. Even small shifts in light direction can change how results look.
Once your main light is set, shut out anything that can throw it off. Overhead lights, desk lamps, and window light can all change color and exposure from one photo to the next. That’s how you end up with two photos of the same patient that look like they were taken in different offices. Blackout shades or a dedicated windowless photo area give you control.
Lighting also affects privacy. Under HIPAA, clear full-face photos can identify a patient and must be handled as protected health information. That means you need written authorization before using any identifiable patient photo on Instagram, your website, or in ads. And that approval should cover each channel or campaign.
2. Framing and Angles
Once the lighting is set, lock in the framing and camera angle too. Use the same crop, subject position, and shooting angle for every post. That way, before-and-after photos stay easy to compare, and your feed looks clean and consistent.
For facial treatments, stick with the same four views every time:
- Front
- Left oblique
- Right oblique
- Profile
Each one shows something different. Frontal views show symmetry. Oblique angles show contour changes. Profile shots show projection and the nose bridge. When you keep these angles the same from session to session, the results are much easier to compare and repeat.
Even small framing mistakes can change how results look. For oblique shots, rotate the whole body. If only the head turns, the comparison gets distorted. For frontal views, make sure both ears are equally visible, the head is level, and the eyes look straight into the lens.
Camera distance matters too. If that changes, perspective distortion can make facial proportions look different from one visit to the next. A tripod and floor markers make it much easier for staff to repeat the same setup every time. The face, or the treatment area, should fill most of the frame with a small margin around it. Skip wide shots that show extra details you don’t need.
3. Background Control
Once lighting and framing are set, lock down the background. If the space behind the patient looks messy or changes from shot to shot, it steals attention from the result and makes your feed feel scattered. Neutral, solid colors like white, light gray, or beige keep the eye on the patient and the outcome.
Set aside one or two spots in your clinic as the default photo areas. Choose a wall with neutral paint and controlled light, then mark the floor so staff place both the patient and the camera in the same position every time. That kind of consistency makes the practice look organized and trustworthy at a glance.
Before each shoot, do a fast sweep of the area. Remove:
- Coffee cups
- Cords
- Trash
- Bottles
- Stray supplies
Also check the small stuff. Make sure cabinet doors are closed, linens are smooth, and only on-brand items are in view.
Visible text in the background can expose PHI. Computer screens, printed charts, intake forms, appointment schedules, and whiteboards with initials or room numbers can all create risk. Reflective surfaces matter too. Mirrors and glass may show faces, screens, or other identifiers.
A clean background helps with focus, brand consistency, before-and-after clarity, and privacy. One simple fix is to post a laminated checklist near each photo area so the process stays the same, even when different staff members are taking photos. Aim for a background that feels clean, calm, and on-brand.
Once the background is under control, staff presentation becomes the next visible brand cue.
4. Staff Presentation
Once the background looks clean, patients usually notice the team next. What staff wear and how they show up on camera sends a message fast - before anyone reads a word. In one survey, physicians in white coats were rated as significantly more experienced, professional, and friendly than those in casual clothing.
A simple fix is to create a one-page staff presentation standard. Keep it clear and easy to follow. Cover attire, grooming, accessories, and demeanor.
Approved attire can include:
- Branded scrubs
- Coordinated tops and pants
- Lab coats for providers
Grooming rules don't need to be complicated. Hair should look neat and be tied back during procedures. Hands and nails should be clean. Makeup should stay minimal. Accessories should stay minimal too, with small jewelry and nothing distracting.
Clothing is only part of it. Demeanor matters just as much. In photos, staff should look present and engaged. That means good posture, a natural expression, and no phones in hand.
After you write the standard, hold a short internal training session so the team knows what's expected and understands how it affects patient trust. Then assign one reviewer to check staff photos before anything goes live.
Also, get written staff consent for marketing use during onboarding. If someone opts out, leave them out of identifiable photos.
Once staff presentation is set, apply the same discipline to treatment room setup.
sbb-itb-02f5876
5. Treatment Room Setup
Once staff presentation is set, do the same for the room. Before you shoot, look at the space the way a patient would see it on camera: the treatment bed, equipment, cords, monitors, and where supplies sit.
Do a quick reset before each shoot:
- Wipe down surfaces and clear counters
- Remove coffee cups, personal bags, and loose paperwork
- Close open product boxes and move sharps containers and trash cans out of frame
- Straighten the treatment bed and smooth the linens
- Arrange equipment neatly and route cords behind furniture
It also helps to pick one fixed photo spot in the room. A neutral, nonreflective wall in white, light gray, or soft blue keeps every post looking consistent.
Privacy is non-negotiable. Under HIPAA, identifiable patient photos are protected health information. Before every shoot, scan the room for visible PHI. Turn monitors away or lock them, remove clipboards or intake forms, and cover whiteboards that show patient names, initials, or schedules.
After the room is cleared, handle publishing through a separate consent process.
6. Patient Consent
No patient photo should go live without documented, written consent. If a patient can be identified, that image counts as PHI under HIPAA when it's used for marketing or social media. Sharing it without written authorization is a HIPAA violation.
That rule does more than protect patient privacy. It also keeps your content process clean, repeatable, and easy to review later. Your consent form should spell out exactly what the patient is agreeing to.
A good consent form needs to be specific and complete. It should:
- identify the patient
- specify the images or videos covered
- name your practice
- state the purpose
- list each marketing channel
- include an expiration date
- include the right to revoke
- include the patient’s signature and date
It’s best to collect consent before the shoot, ideally during intake. Be direct about what the patient should expect. Tell them whether their face will be visible, how the image may be cropped, and that even deleted posts can still be screenshotted or reshared.
Give patients clear choices. For example:
- face covered or cropped
- no visible identifiers
- in-office use only
Once consent is signed, store it somewhere staff can check before anything gets posted.
Every signed form should live in a centralized, HIPAA-compliant system tied to the patient record. If you use Prospyr for intake and patient management, collect and store photo authorizations in that same workflow. That setup makes each post easier to review against the same standard. Then make consent verification the final check before publishing.
Before any patient image goes live, confirm that the consent form exists, covers the exact platform you plan to use, and that no revocation request has been made. Posting access should be limited to trained team members. Treat consent the same way you treat lighting and framing: a fixed step, not a last-minute call.
How to Apply These Rules Across Different Post Types
The six rules matter for every post. What changes is where the pressure shows up.
Before-and-after photos need the most care in aesthetics marketing. Keep the lighting, angle, distance, and background matched so the result is the only thing that changes. Skip filters and color tweaks that make outcomes look stronger than they are. If you edit at all, stick to exposure or white balance. Don’t change skin tone or texture. And yes, consent checks are a must here, since these images can reveal who the patient is.
In-room treatment shots tend to work best when they look natural but still controlled. Before you take the photo, clear the room. Remove patient charts, product packaging, loose cords, and anything else that shouldn’t be in the shot. The frame should look clean and clinical, with one clear focus: a provider, a treatment in progress, or a product being used.
Provider introduction posts put staff presentation front and center. In most cases, a clean background, consistent branded attire, and solid lighting do the heavy lifting. These images often shape a patient’s first impression of the team, so they should come across as approachable and professional. It also helps when every team member looks visually aligned. That way, the feed feels like one practice instead of a mix of personal styles.
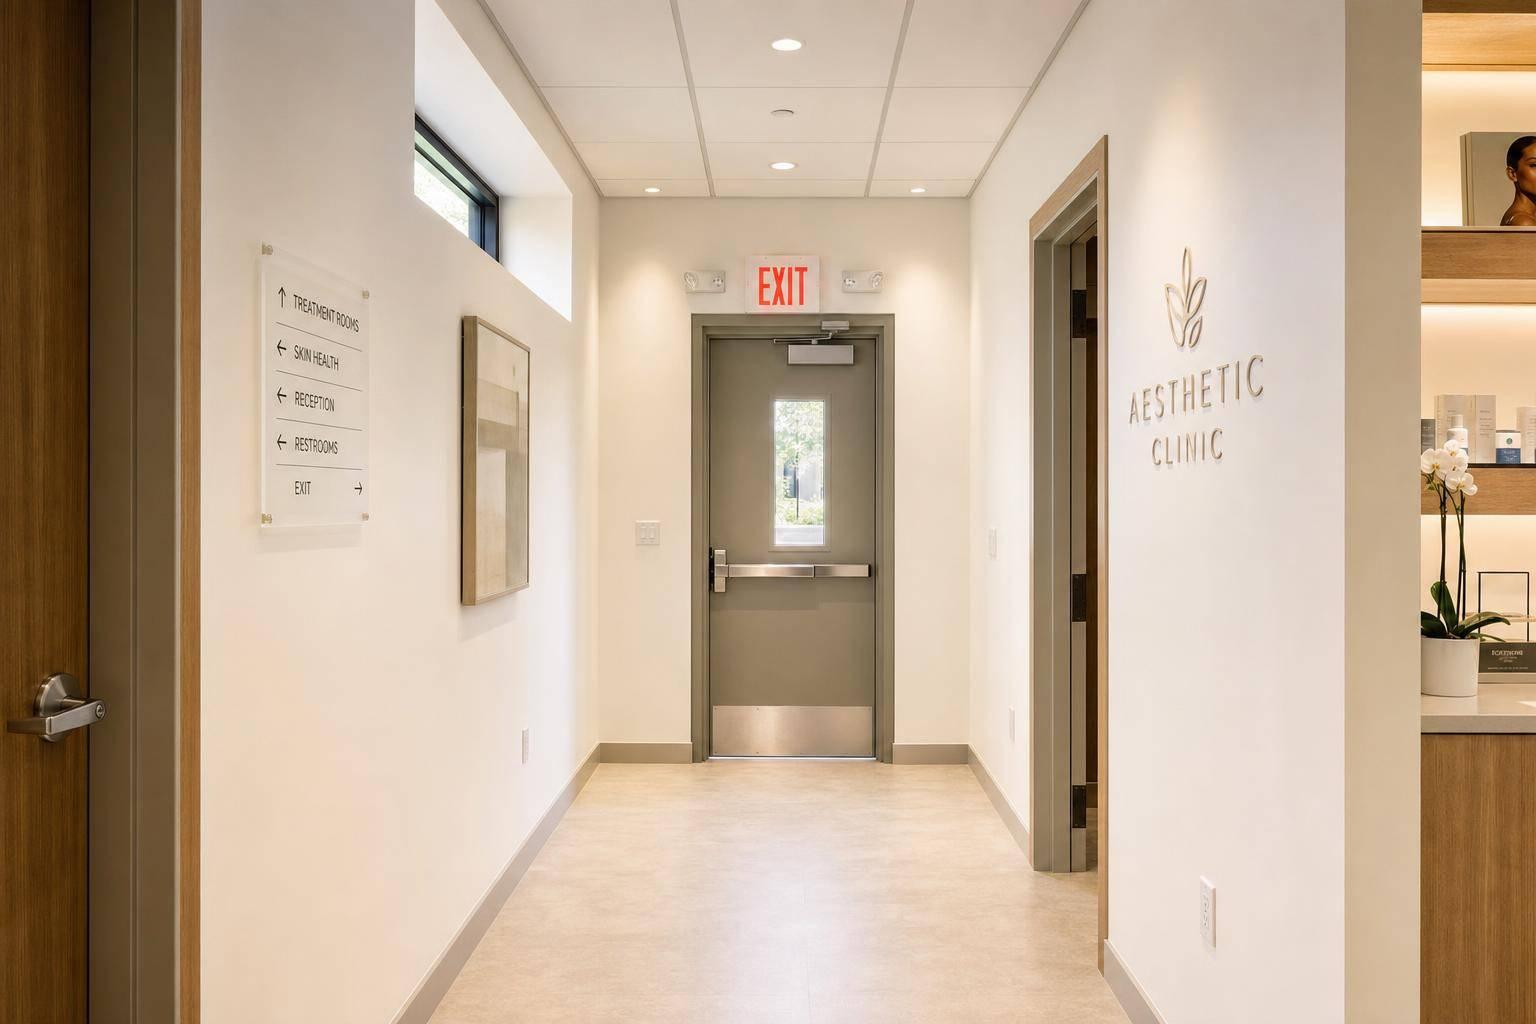
Facility photos give patients a preview of what to expect. Shoot rooms when they’re fully staged and free of clutter. Use the same lighting and background tones that appear across the rest of the feed so the overall look stays consistent.
Before any shoot, run through these four checks:
| Check | What to confirm |
|---|---|
| Lighting | Even, shadow-free, neutral |
| Room readiness | Clear, no files, no identifiers |
| Attire | Clean, branded, consistent |
| Consent | Written authorization on file |
Once those priorities are set, fold them into a repeatable team workflow.
Building an Internal Photo Workflow for Your Team
Once your photo rules are set, put them into a simple workflow the team can use every single time. Knowing the rules is the easy part. Sticking to them under pressure is where things usually fall apart. A short, repeatable process helps keep the feed consistent and the brand credible.
Turn the six rules into a checklist people can see and use in the room. Add floor markers at 4 feet and 6 feet from the patient chair. Keep a laminated reference card nearby that shows approved framing for common treatments. Inside cabinet doors, post a room-prep checklist so staff can do a fast scan before shooting:
- Clear counters
- Hide charts
- Check screens
- Look for visible PHI
Use the same setup every time. That way, nobody has to guess.
Keep staff dress expectations and backdrop rules in that same document. Spell out the basics: solid-color scrubs in brand colors, minimal jewelry, neat grooming, and which walls or photo stations are approved. It also helps to show people what “right” looks like. Post one approved example next to one rejected example.
Consent should sit on the same pre-shoot checklist as lighting and room prep. Check consent before the shoot, then check it again before posting. Use Prospyr to store photo consent in intake and connect it to each patient profile for faster clearance checks. If a patient revokes consent, related posts can be found and removed faster.
One person should own the process. Assign a Photo Champion to keep the standard in place, train new staff, and review a sample each quarter. Write it down, train the team on it, and audit it quarterly.
Conclusion
Strong med spa social content comes from clear, repeatable standards, not filters. When your clinic uses the same visual rules for every post, it signals trust before a patient even books.
98% of consumers say authentic images and videos are pivotal in establishing trust with a brand.
Consistent visuals make results feel believable and the practice feel careful. Honest imagery also sets clear expectations, which helps protect both your patients and your reputation.
That trust only holds up when patient consent is documented. Consent is part of brand trust, not just compliance. Clinics should use written, specific consent for identifiable patient images. Use Prospyr to store consent and images in one HIPAA-compliant workflow, so your team can check permissions before anything goes live.
Once consent is in place, those same standards should turn into a simple team process. Put the rules in writing, assign one owner, and use one pre-post checklist. When each post follows the same standard, your feed reflects the professionalism patients expect in person.
FAQs
How can we standardize photos across different staff members?
Set one clear photography style for your team and stick to it. That means defining the lighting, camera angles, and backgrounds you want used every time. For before-and-after photos, this matters even more. If one image is bright and front-facing while the next is dark and shot from the side, the result looks sloppy and can weaken trust in your brand.
It also helps to train staff on these standards so every photo follows the same look, no matter who takes it. At the same time, make sure your team knows how to store images securely using HIPAA-compliant systems. That way, your visual content stays polished, consistent, and handled with care.
What editing is acceptable for before-and-after photos?
Before-and-after photos need to be accurate and not misleading. Don’t edit them in ways that change or exaggerate treatment results, because that can cross the line into deceptive advertising.
It’s fine to use a consistent editing style so your images look polished and on-brand. But the main goal is to keep the photos honest. If needed, blur identifying features to honor consent agreements, and add a clear disclaimer that results may vary.
How often should a med spa review its photo posting process?
Review it regularly, with a monthly check of social media performance against your goals so you can refine your strategy.
Also run regular audits of your online presence and patient consent status. Complete compliance reviews at least once a year to verify signed marketing authorizations and remove expired testimonials.